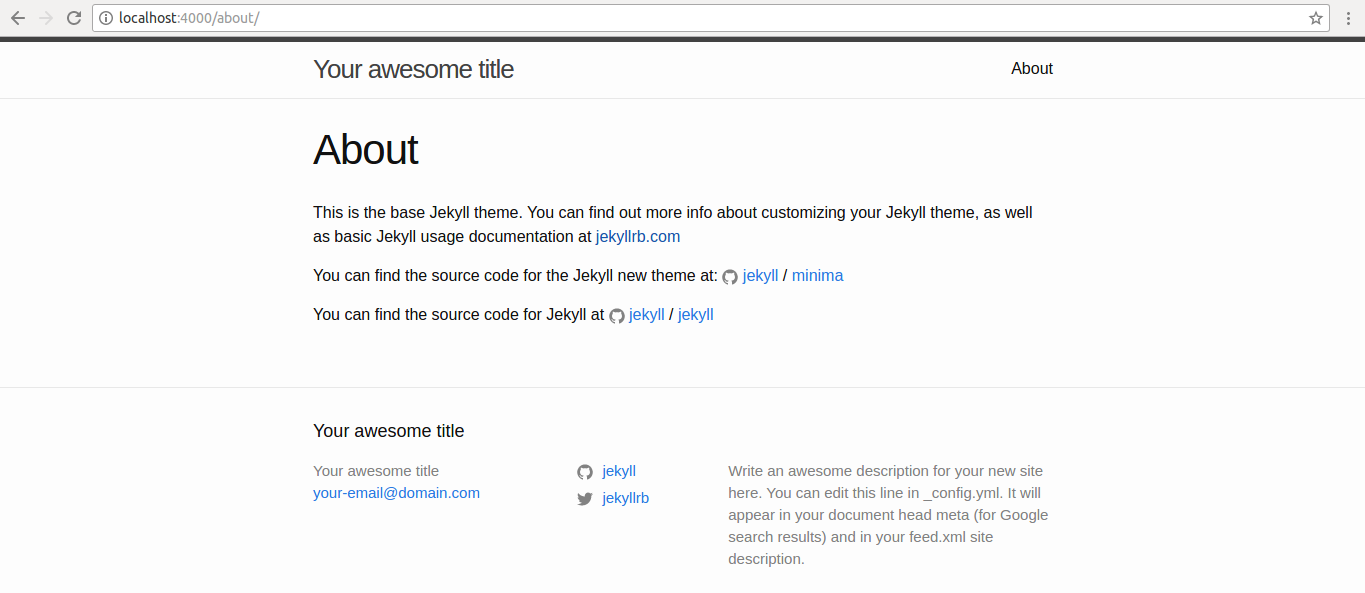
Here you’ll learn how to setup your Jekyll serve, is very useful if you work with static pages.
Jekyll
Is a simple blog, static site generator for personal projects.
Jekyll is written in Ruby.
See more info here.
Installing
First, make sure you have all gcc dependencies:
sudo apt-get install build-essential
For installing Jekyll, we just need install some dependencies:
Ruby: Programming language.
sudo apt-get install ruby ruby-dev make gccGem: Package manager for Ruby.
sudo apt-get install rubygems-integrationJekyll:
sudo gem install bundler -v '1.17.3'
sudo gem install jekyll
sudo gem install jekyll-seo-tag
sudo gem install jekyll-feed
sudo gem install jekyll-theme-cayman-blog
If your have a requeriments doc, go to the parent directory and run:
sudo gem install bundler -v "$(grep -A 1 "BUNDLED WITH" Gemfile.lock | tail -n 1)"
bundle install
If you already have a web page, just run (if you have some errors):
bundle exec jekyll serve
Creating a static web
Creating a new project on your local machine:
jekyll new webApp
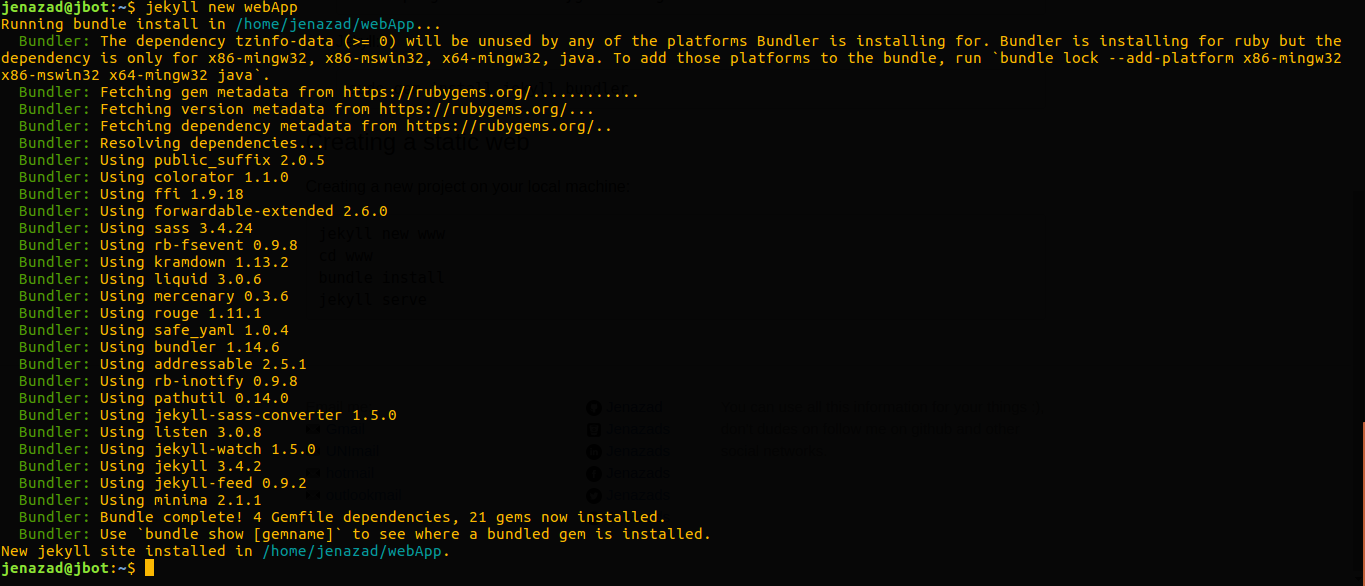
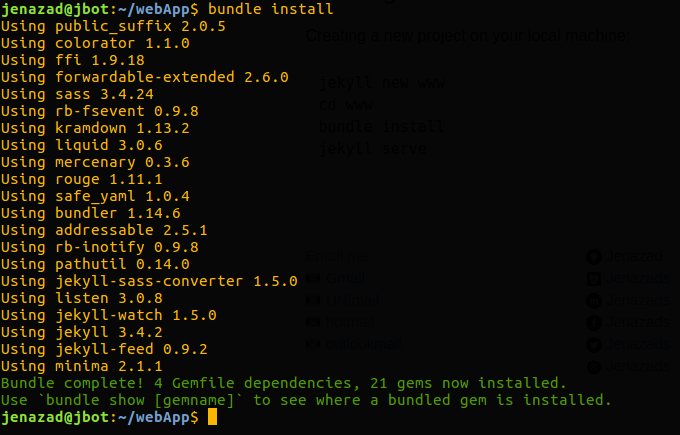
Then, install components:
cd webApp
bundle install
Themes
Serve
Finally, start the static web by default in port 4000:
jekyll serve
or, in a specific port and host (Note: if you use port 80 or 443, use sudo):
sudo jekyll serve --port 80 --host localhost
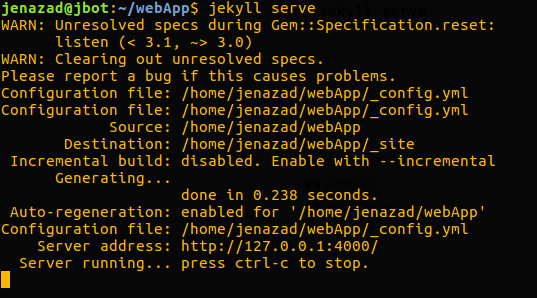
In your favourite browser, enter to localhost:4000:
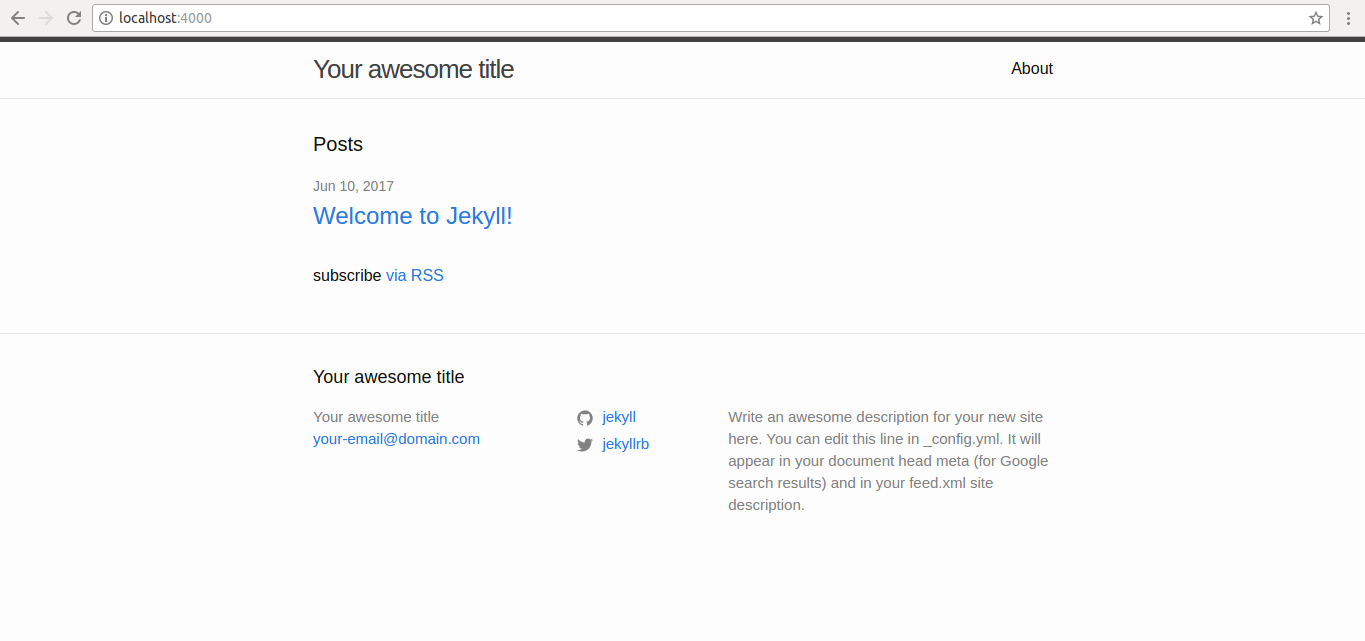
You can navigate here, e.g. /about page:
